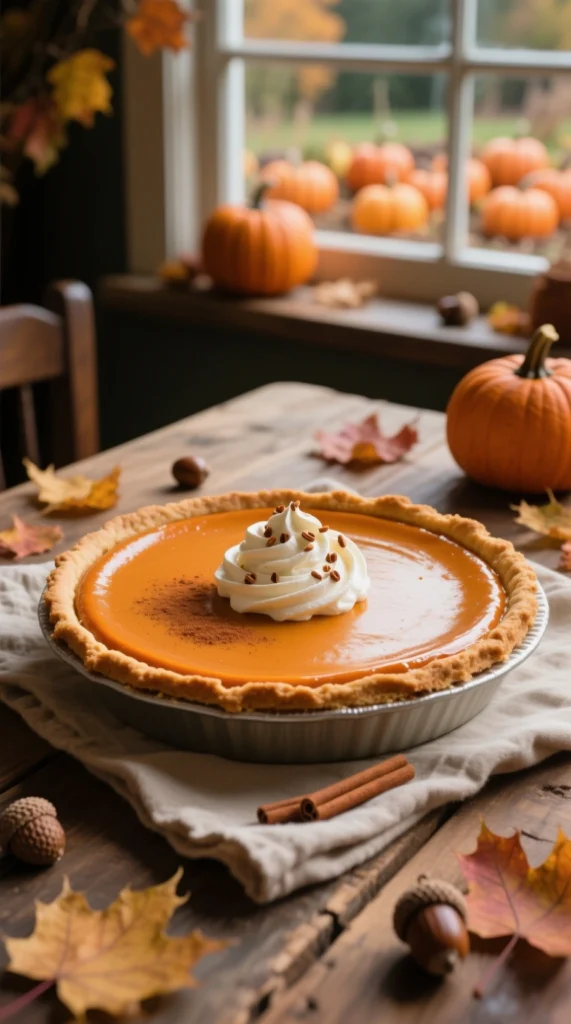
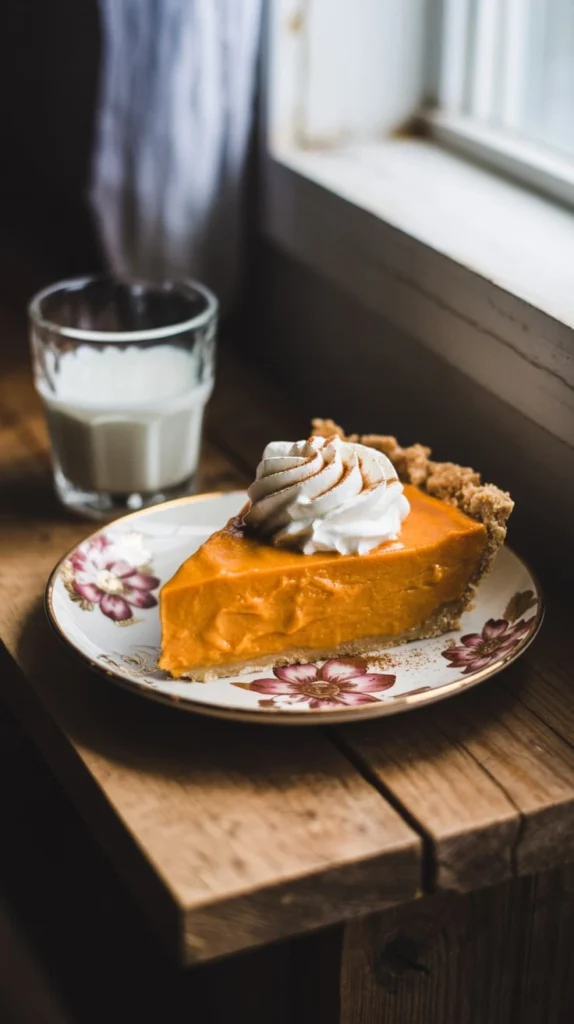
No Bake Pumpkin Pie : Creamy Dreamy Pumpkin Perfection
Can You Really Make a Perfect Pumpkin Pie… Without Turning On the Oven?
Have you ever wished you could enjoy a rich, creamy pumpkin pie without the hassle of baking?
What if you could skip the oven, save time, and still have a dessert so smooth and dreamy it tastes like it came straight from a bakery?
Believe it or not, you can—and it’s easier than you think.
Meet the No Bake Pumpkin Pie, a cool, creamy, and totally no-fuss treat that’s perfect for busy holidays, last-minute guests, or lazy fall afternoons. It’s the kind of dessert that makes everyone ask, “You made this without baking?!”
In this post, we’ll show you how to make the creamiest, dreamiest pumpkin pie ever—without heating up your kitchen. Whether you’re new to cooking or a seasoned home chef, this recipe is simple, fast, and full of cozy fall flavor.
Let’s dive in and discover how one of America’s favorite desserts can be made without baking a single thing.
Overview: Why This No Bake Pumpkin Pie is a Game-Changer
If you’ve ever spent hours rolling pie crusts, watching ovens, or dealing with cracked pies, you’ll love this version.
This No Bake Pumpkin Pie is:
- Ready in 20 minutes (plus chilling time)
- No oven needed – perfect for hot days or tiny kitchens
- Easy enough for kids to help
- Creamy, smooth, and packed with pumpkin spice flavor
- Perfect for Thanksgiving, birthdays, or any sweet craving
Difficulty Level: Super Easy (Seriously, it’s a 5-year-old-friendly recipe!)
Total Time: 20 minutes prep + 4 hours chilling
Serves: 8–10 people
It’s the perfect solution when you want a classic dessert without the stress. Plus, it’s made with real pumpkin, so you’re getting a little boost of vitamins with every bite!
Table of Contents
Table of Contents
Ingredients: What You’ll Need
Here’s everything you need to make this dreamy dessert. Don’t worry—these are simple, everyday ingredients you might already have!
For the Crust:
- 1 ½ cups graham cracker crumbs (about 10–12 full crackers)
- 6 tablespoons unsalted butter, melted
- 2 tablespoons granulated sugar
- ½ teaspoon ground cinnamon (optional, for extra warmth)
For the Pumpkin Filling:
- 1 cup canned pumpkin puree (not pumpkin pie filling!)
- 1 cup heavy whipping cream (cold)
- 2 tablespoons granulated sugar
- 1 teaspoon vanilla extract
- 1 (14 oz) can sweetened condensed milk
- 1 ½ teaspoons pumpkin pie spice (or ½ tsp cinnamon, ¼ tsp ginger, ¼ tsp nutmeg, ⅛ tsp cloves)
- ¼ teaspoon salt
For Topping (Optional but Recommended!):
- Whipped cream (store-bought or homemade)
- A sprinkle of pumpkin pie spice or cinnamon
- Crushed graham crackers or candy pumpkins for fun
Pro Tip: Use real pumpkin puree (like Libby’s) for the best flavor and color. Avoid pumpkin pie mix—it’s already sweetened and spiced, which can throw off the recipe.
Step-by-Step Instructions: How to Make No Bake Pumpkin Pie
Let’s make this dreamy dessert step by step. We’ll start with the crust, then whip up the filling, and finally chill it to perfection.
Step 1: Make the Crust
- In a medium bowl, mix the graham cracker crumbs, melted butter, sugar, and cinnamon (if using).
- Stir until the crumbs are evenly coated and look like wet sand.
- Pour the mixture into a 9-inch pie dish.
- Press it firmly into the bottom and up the sides using the back of a spoon or a flat-bottomed glass.
- Place the crust in the fridge to chill while you make the filling.
Tip: Pressing the crust firmly helps it hold together when you slice the pie later.
Step 2: Whip the Cream
- Pour the cold heavy cream into a large mixing bowl.
- Using a hand mixer or stand mixer, beat on high speed until stiff peaks form (about 3–4 minutes).
- Set the whipped cream aside in the fridge while you make the pumpkin mixture.
Tip: Make sure your cream is cold! Cold cream whips faster and holds its shape better.
Step 3: Mix the Pumpkin Filling
- In a separate large bowl, add the pumpkin puree, sweetened condensed milk, sugar, vanilla extract, pumpkin pie spice, and salt.
- Stir well until everything is smooth and fully combined. The mixture should be thick and bright orange.
- Gently fold in about 1 cup of the whipped cream to lighten the pumpkin mix.
Tip: Folding (not stirring) keeps the filling light and airy. Use a spatula and cut through the center, then fold over the top.
Step 4: Combine and Fill
- Add the pumpkin mixture to the rest of the whipped cream.
- Gently fold everything together until no streaks remain. Be careful not to overmix—keep it fluffy!
- Pour the creamy filling into the chilled graham cracker crust.
- Smooth the top with the back of a spoon or spatula.
Tip: For a clean edge, run a damp paper towel around the inside rim of the dish after filling.
More Desserts Recipes You’ll Love!
. Key Lime Pie
. Shamrock Shake Pie Easy
. No-Bake Strawberry Blueberry Trifle
. No-Bake Banana Pudding Cheesecake Squares Recipe
Assembly: How to Build Your Pie Like a Pro
Now that your pie is filled, it’s time to make it look as good as it tastes!
Smooth the Top
Use a spatula to create soft swirls on the surface. It gives your pie a bakery-style look.
Chill It
Cover the pie loosely with plastic wrap or foil. Place it in the fridge for at least 4 hours, or overnight for best results.
Why chill so long? This lets the filling set and develop flavor. Cutting into it too soon = soupy pie. Patience pays off!
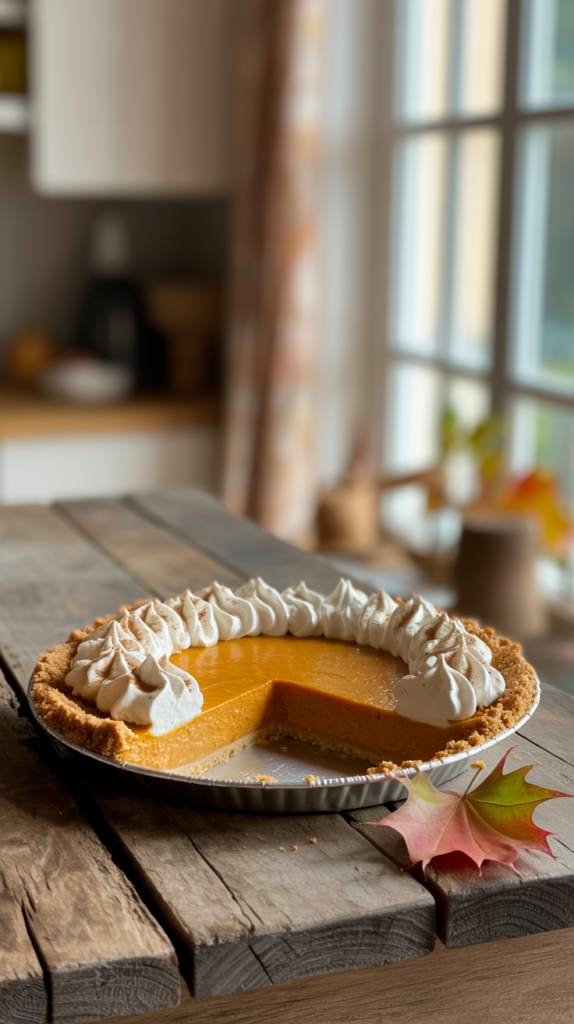
Add the Finishing Touches
Once chilled, add your toppings:
- A swirl of whipped cream around the edges
- A light dusting of pumpkin pie spice
- A few candy pumpkins or crushed graham crackers for crunch
Presentation Tip: Serve on a festive plate, add fall leaves or mini pumpkins around the dish, and watch your pie become the star of the table!
Storage and Make-Ahead Tips
One of the best things about this No Bake Pumpkin Pie? It keeps well and gets even better with time!
How to Store:
- Keep your pie covered in the fridge for up to 5 days.
- Use plastic wrap or a pie dome to prevent it from absorbing other fridge smells.
Can You Freeze It?
Yes! This pie freezes beautifully.
- Wrap the whole pie (or individual slices) tightly in plastic wrap, then in foil.
- Freeze for up to 2 months.
- Thaw in the fridge overnight before serving.
Note: The crust may soften slightly after freezing, but the flavor stays amazing.
Make-Ahead Magic
This is the perfect make-ahead dessert!
- Make it 1–2 days in advance for holidays.
- Prepare the crust and filling separately, then assemble the night before.
- Top with whipped cream just before serving for a fresh look.
No last-minute stress. Just cool, creamy perfection when you need it.
Recipe Variations: Make It Your Own!
The beauty of this No Bake Pumpkin Pie is how easy it is to customize. Here are some fun twists to try:
Chocolate Lover’s Version
- Add ¼ cup cocoa powder to the filling.
- Use an Oreo cookie crust instead of graham crackers.
- Top with chocolate shavings.
Vegan No Bake Pumpkin Pie
- Swap graham crackers for vegan cookies.
- Use coconut oil instead of butter in the crust.
- Replace heavy cream with chilled coconut cream.
- Use a vegan sweetened condensed milk (available in stores or homemade).
Coconut Pumpkin Dream
- Mix ½ cup shredded coconut into the crust.
- Use coconut milk in the filling (replace some condensed milk with coconut cream).
- Top with toasted coconut flakes.
Berry Swirl Pie
- Swirl raspberry or strawberry jam into the top before chilling.
- Serve with fresh berries on the side.
Yogurt Twist (Lighter Option)
- Replace half the whipped cream with plain Greek yogurt.
- Use light sweetened condensed milk.
- Great for a breakfast-style dessert or brunch!
Fun Idea: Let the kids decorate their own mini pumpkin pies in glasses or ramekins. It’s a fun fall activity!
Health Benefits: Yes, This Pie Can Be a Little Bit Good for You!
We’re not saying this is a salad—but this No Bake Pumpkin Pie has some surprising perks:
- Pumpkin is packed with vitamin A, which is great for your eyes and immune system.
- It’s lower in cholesterol than baked custard pies since we’re not using eggs.
- You can control the sugar—use less if you prefer a less sweet treat.
- With real pumpkin and no artificial flavors, it’s a cleaner dessert option.
And because it’s no-bake, you’re not adding extra heat to your home—saving energy and staying cool!
Conclusion: Your New Favorite Dessert Awaits
Who knew the creamiest, dreamiest pumpkin pie could be made without ever turning on the oven?
This No Bake Pumpkin Pie is more than just a dessert—it’s a stress-free solution for busy days, a fun project for families, and a guaranteed crowd-pleaser at every gathering.
It’s fast, easy, and so delicious that no one will believe it took you less than 20 minutes to make.
So go ahead—give it a try. Make it your own with fun toppings or healthy swaps. Share it with loved ones. And don’t be surprised when they beg for the recipe.
After all, the best desserts aren’t about perfection. They’re about joy, flavor, and making memories—one creamy, dreamy bite at a time.
Now, who’s ready for pie?
FAQs: Your No Bake Pumpkin Pie Questions, Answered!
Got questions? We’ve got answers!
1. Can I use fresh pumpkin instead of canned?
Yes, but it needs to be cooked and pureed first. Roast a small pumpkin, blend until smooth, and drain excess liquid. Canned pumpkin is more consistent and saves time.
2. Why is my pie too soft or runny?
This usually means it didn’t chill long enough. Always refrigerate for at least 4 hours. Also, make sure you’re using real pumpkin puree, not pumpkin pie filling.
3. Can I make this pie without sweetened condensed milk?
It’s tricky, but you can try a homemade version: simmer 1 can of regular milk with ¾ cup sugar and 2 tablespoons butter for 30–40 minutes until thickened. Cool completely before using.
4. Can I use whipped topping (like Cool Whip) instead of whipping cream?
Yes! Replace the whipped cream with 1 large tub (8 oz) of whipped topping. Fold it in just like homemade whipped cream. It’s easier and still delicious.
5. Is this pie gluten-free?
Yes! Use gluten-free graham crackers or cookies for the crust. Check labels on pumpkin spice and condensed milk to be safe.
6. How do I prevent cracks or water on top?
Make sure your pumpkin puree isn’t watery. Blot it with a paper towel if needed. Also, cover the pie when chilling to avoid condensation.
7. Can I make mini pies in cups or jars?
Absolutely! Use small glasses or mason jars. Layer crust, filling, and top with whipped cream. They’re perfect for parties or gifts!
8. Is pumpkin pie spice the same as pumpkin pie filling?
Nope! Pumpkin pie spice is a mix of cinnamon, ginger, nutmeg, and cloves. Pumpkin pie filling is pre-sweetened pumpkin with spices added. Use the spice, not the filling.
9. Can I reduce the sugar?
Yes! Try using 1 tablespoon less sugar in the filling. Or use a sugar substitute like monk fruit or erythritol that works in cold recipes.
10. What can I serve with this pie?
Try vanilla ice cream, caramel drizzle, or a cup of hot apple cider. It’s also amazing with coffee or tea!
Final Tip: Make It a Tradition
The best part of this No Bake Pumpkin Pie isn’t just how easy it is—it’s how it brings people together.
Make it with your kids. Surprise your neighbors. Bring it to potlucks and watch it disappear.
Because the best desserts aren’t just about taste. They’re about love, simplicity, and saying, “I made this just for you.”
So go ahead—whip up a batch today. Your creamy, dreamy pumpkin perfection is just one bowl away.
Try this No Bake Pumpkin Pie and taste the magic for yourself! 🎃🥧
CRAVING MORE RECIPES
. Watermelon Lemonade Easy
. Old-Fashioned Rhubarb Pie Recipe
. Easy M&M Cookie Bars Recipe
. Honey Glazed Carrots Recipe
Did You Try Our Recipe?
There are no reviews yet. Be the first one to write one.